Confused about find out how to arrange emails for a brand new Shopify retailer?
Sure, Shopify e-mail setup might be difficult, particularly for people with out earlier expertise or technical background.
That’s why we created this straightforward information.
Preserve studying to learn to arrange Shopify e-mail in lower than an hour.
Shopify E-mail necessities
First issues first:
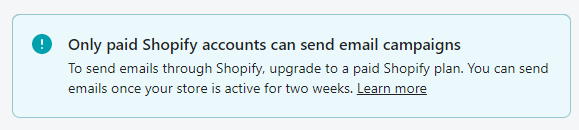
You’ll be able to solely use the Shopify E-mail app in case your retailer has a paid subscription. When you’re nonetheless on the trial plan, Shopify permits sending take a look at emails to your self solely.

So—
Be sure to purchased a paid plan earlier than beginning the Shopify e-mail setup. The most affordable subscription prices $29/mo. See the Shopify pricing plans right here.
Shopify e-mail setup
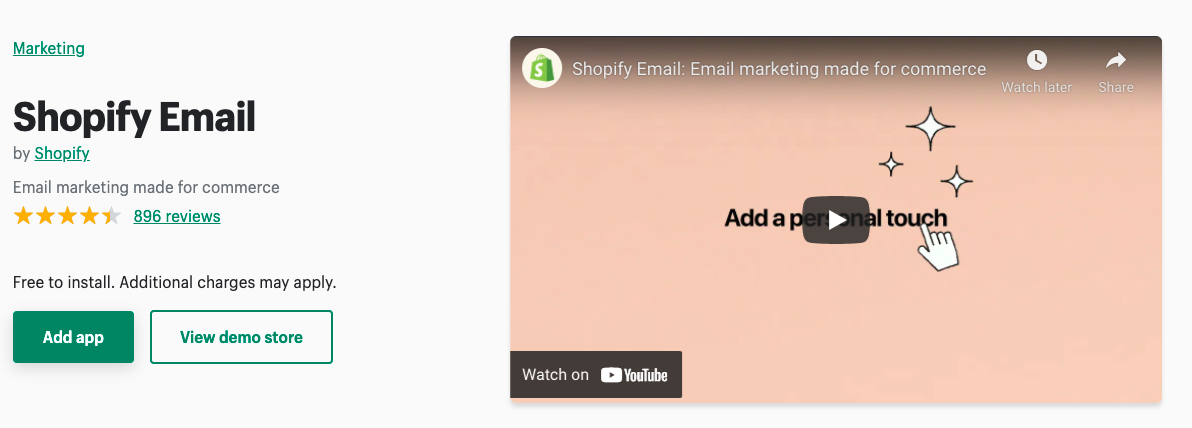
Go to the Shopify E-mail app web page to start.
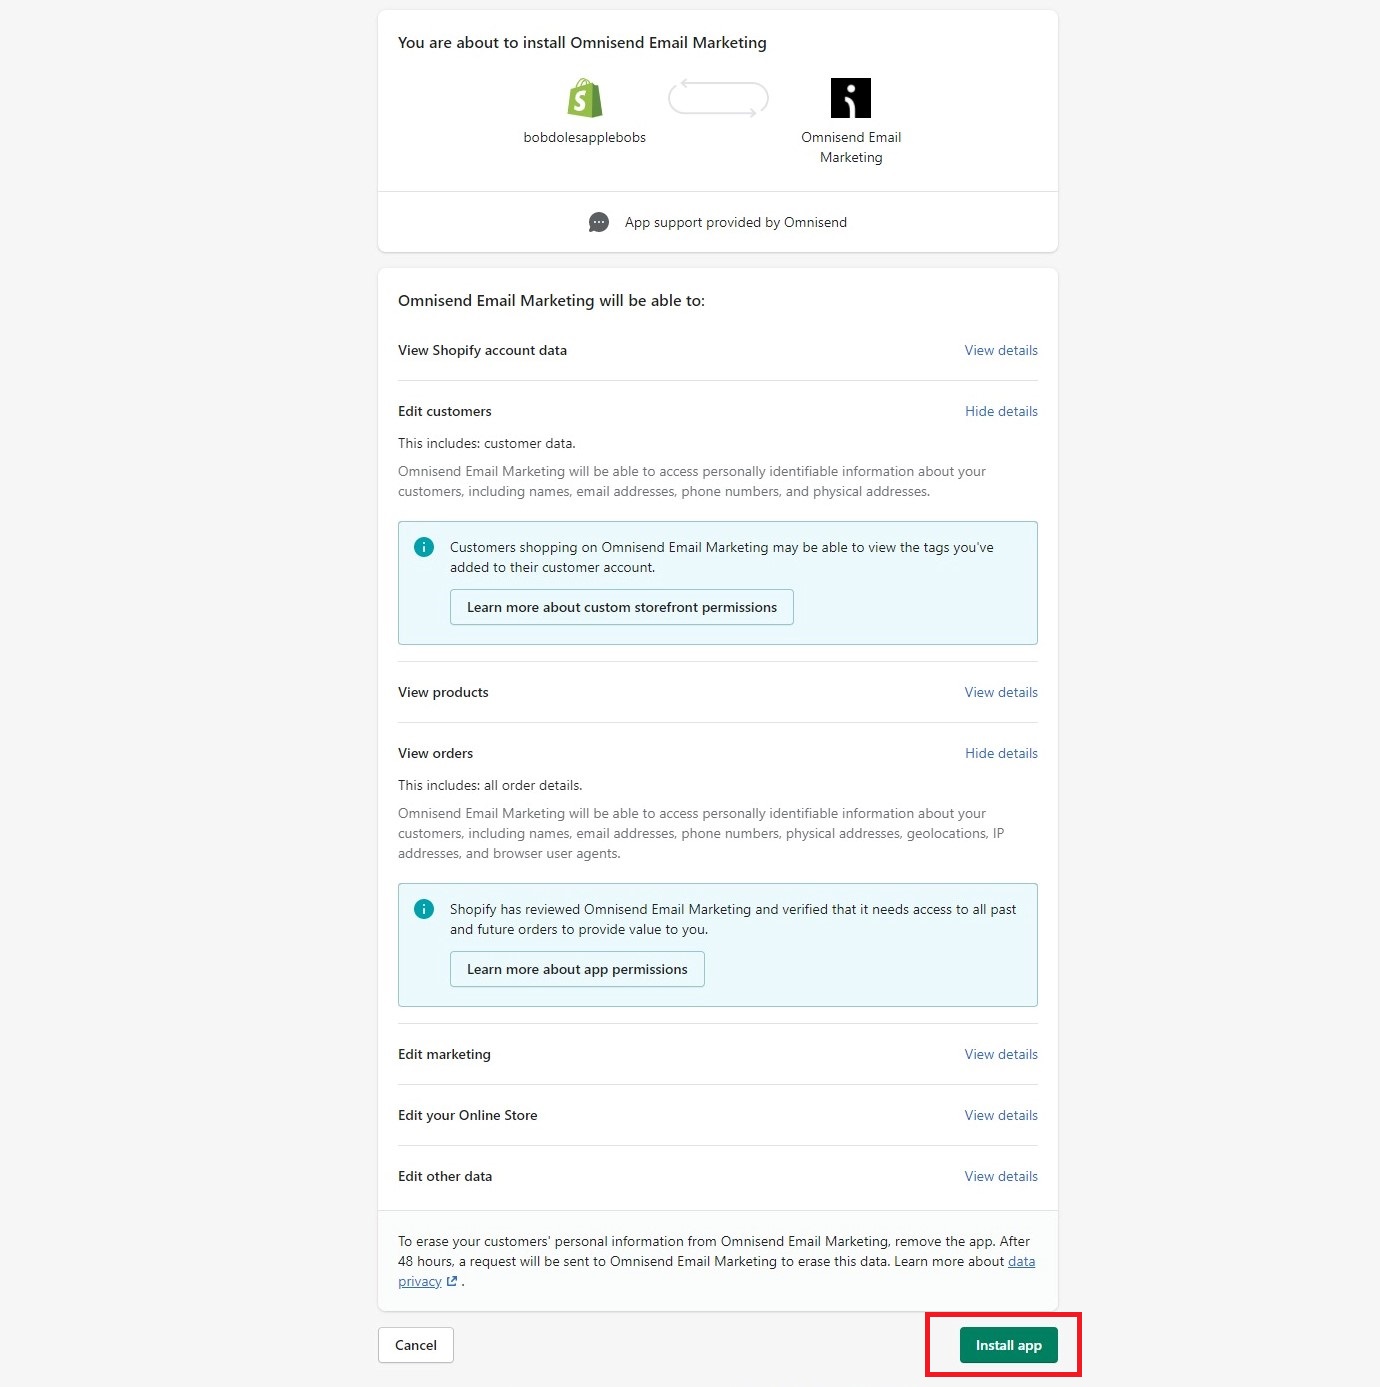
Click on Add app and comply with the directions to begin the set up.

Logging into Shopify is required to proceed.
When you’re logged in—
Click on Set up App.

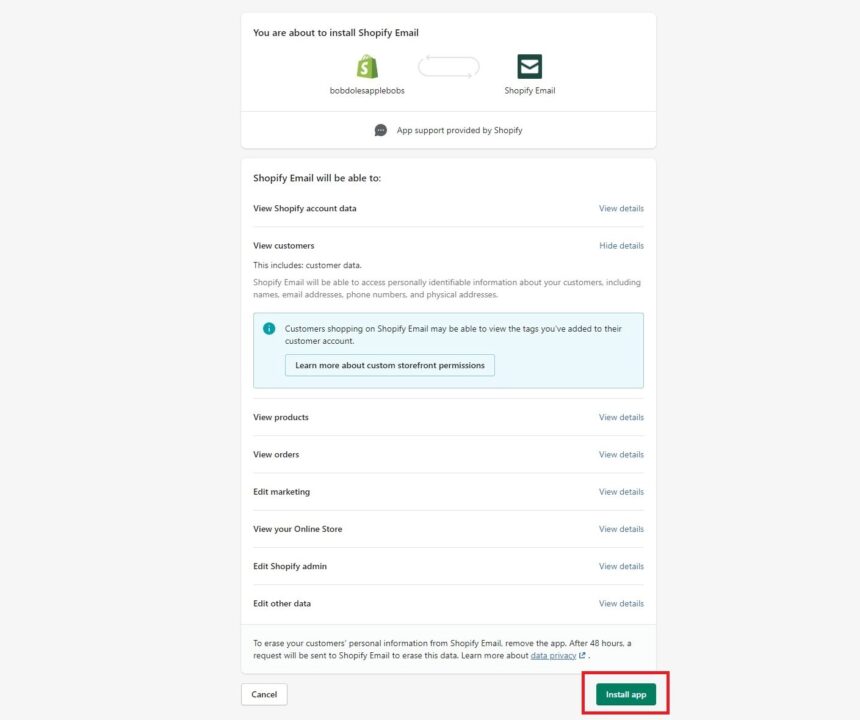
In about 5 seconds, Shopify E-mail will likely be prepared to make use of.
One necessary observe:
Shopify doesn’t host your emails. Extra particularly: you’ll be able to’t reply on to your prospects out of your Shopify e-mail. As an alternative, they provide two choices: e-mail forwarding and third-party internet hosting.
Forwarding means your emails could have @shopifyemail.com on the finish. On this case, the messages gained’t look very skilled. However for those who’d like to make use of this selection, use the Add forwarding e-mail handle in Domains (now underneath Settings) within the Shopify dashboard. This feature is barely accessible for customized domains (not ending in myshopify.com) bought by way of Shopify.
Watch Shopify’s walkthrough right here:
Third-party internet hosting means utilizing one other service to host your emails. It’s an incredible choice that many shops use. With Shopify, you’ll be able to choose between Google Workspace and Zoho Mail.
So as to add a third-party e-mail internet hosting service—
Go to On-line retailer > Domains and click on your area underneath Shopify-managed domains. The Domains choice will solely be seen for those who’ve bought a customized area by way of Shopify.
Click on on Handle. There, within the E-mail part, select Use third-party internet hosting service.
This window will seem, permitting you to choose.

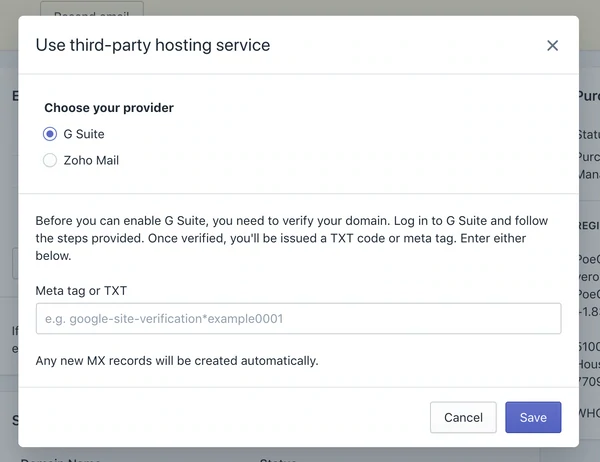
The meta tag or TXT that you just see on the image might be obtained out of your chosen e-mail internet hosting supplier.
You can too watch a video walkthrough from Shopify:
To attach your Shopify retailer to any of these two e-mail internet hosting companies:
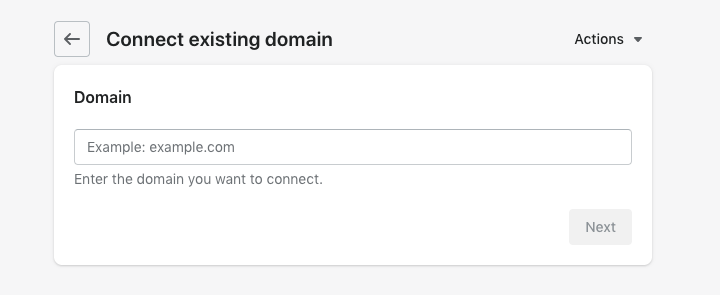
Go to your Shopify dashboard > Settings > Domains.
There—
Click on Join current area and kind in your retailer’s URL.

In case your retailer is registered with these Shopify companions, an choice to attach routinely will seem.
Right here’s the way it appears to be like.

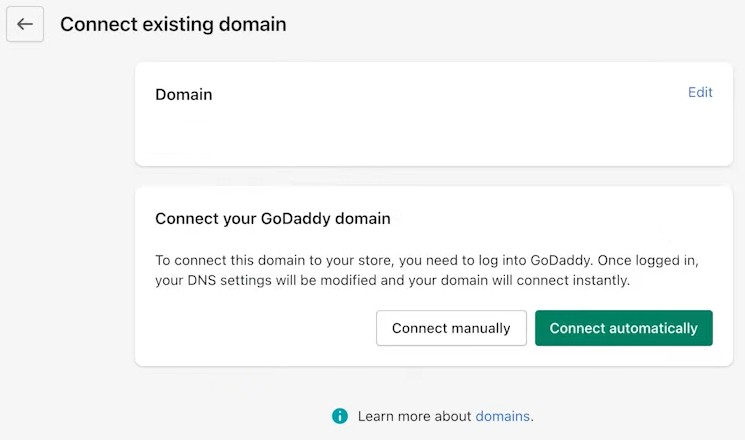
Click on Join routinely and comply with directions.
The right way to add SPF and DKIM data to Shopify
When you selected a third-party Shopify e-mail internet hosting supplier—
Shopify says you should add Sender Coverage Framework (SPF) data and Area Keys Recognized Mail (DKIM) data to your account.
In any other case, your emails will likely be proven as being despatched from [email protected] or, worse, flagged as spam.
So as to add Shopify SPF and DKIM:
- Go to Settings in your sprint
- Click on Edit in Contact Data
- Select Repair this
- Click on Authenticate in Sender e-mail
- Enter SPF and DKIM based on directions
As soon as that is finished, you’ll be able to really feel assured that your emails will likely be delivered to prospects. When you want extra assist with this step, see this SPF & DKIM data information.
Shopify e-mail advertising and marketing with Omnisend
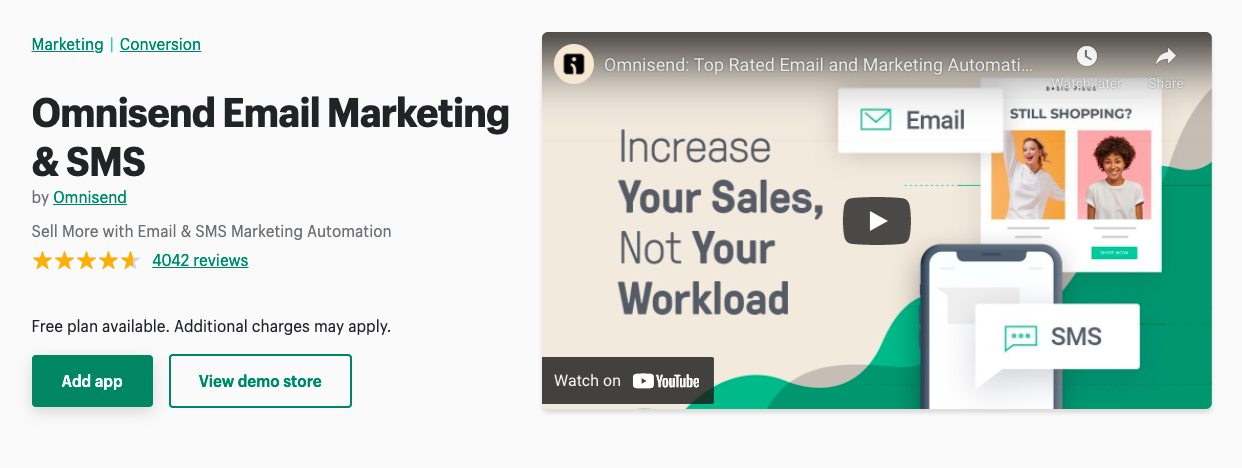
Shopify E-mail is an okay e-mail advertising and marketing choice with a mean ranking of 4.4 stars. Customers are typically glad however many critiques counsel an absence of automation and too few templates.
If trying out some options is one thing that crossed your thoughts, allow us to counsel Omnisend.
You get:
- High-rated buyer assist
- Free plan with 500 emails/mo
- Finest-in-class e-mail automations
- Gorgeous e-mail templates
- SMS advertising and marketing options
The app has 3,600+ 5-star critiques from Shopify customers.
When you’re —taking Omnisend for a spin is simple (and free).
The fundamental steps:
Go to Omnisend’s web page on the Shopify App Retailer and click on Add app.

After that—
Click on Set up App.

In only a few seconds, you’ll see the account registration window.
Create your free account by getting into particulars like e-mail, password, title, and others. Click on Get Began to complete.

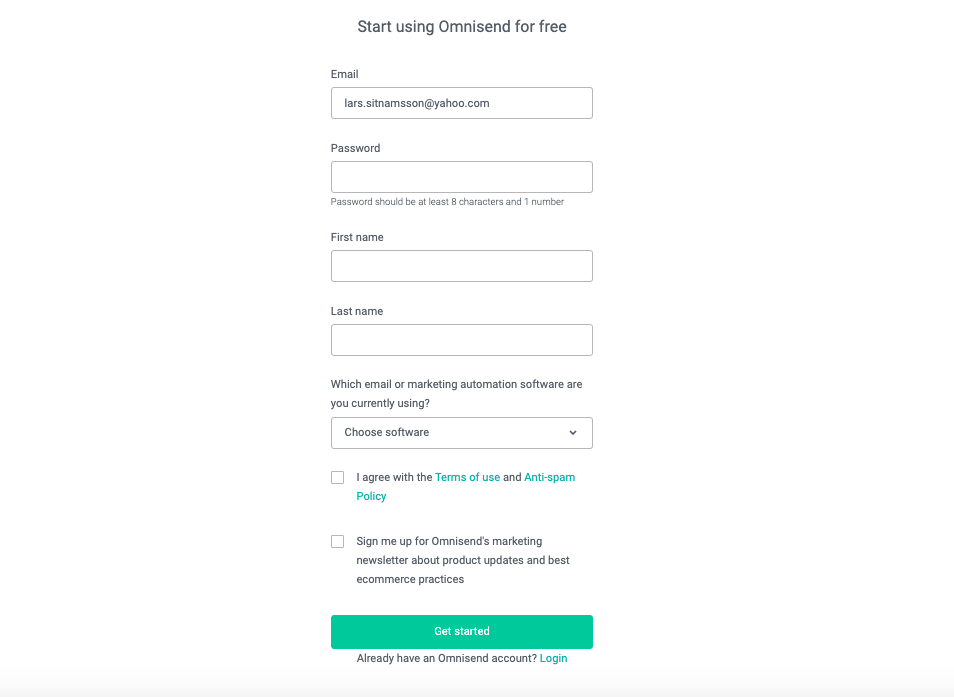
At this level, your account is created.
It is best to arrive at Omnisend’s welcome window. There, you’ll see 4 choices to proceed—you’ll be able to study the app, create a marketing campaign straight away, begin gathering the emails of tourists, and make a cart restoration e-mail.
Be at liberty to decide on any choice—Omnisend is extraordinarily beginner-friendly, so that you’ll even be capable of create campaigns simply.


That’s it, you’re able to do e-mail advertising and marketing. Browse round, create your first campaigns, and take a look at the guides beneath to turn into higher at e-mail advertising and marketing.
Do you have to want any help—
See the entire information to integrating Omnisend and Shopify.

Helpful sources for Shopify e-mail advertising and marketing
The proper technique can increase your email-generated revenues as much as 460%. These handpicked sources from our weblog will aid you make e-mail your primary income channel.
Get began with Omnisend immediately & drive gross sales on autopilot with pre-built automation workflows